


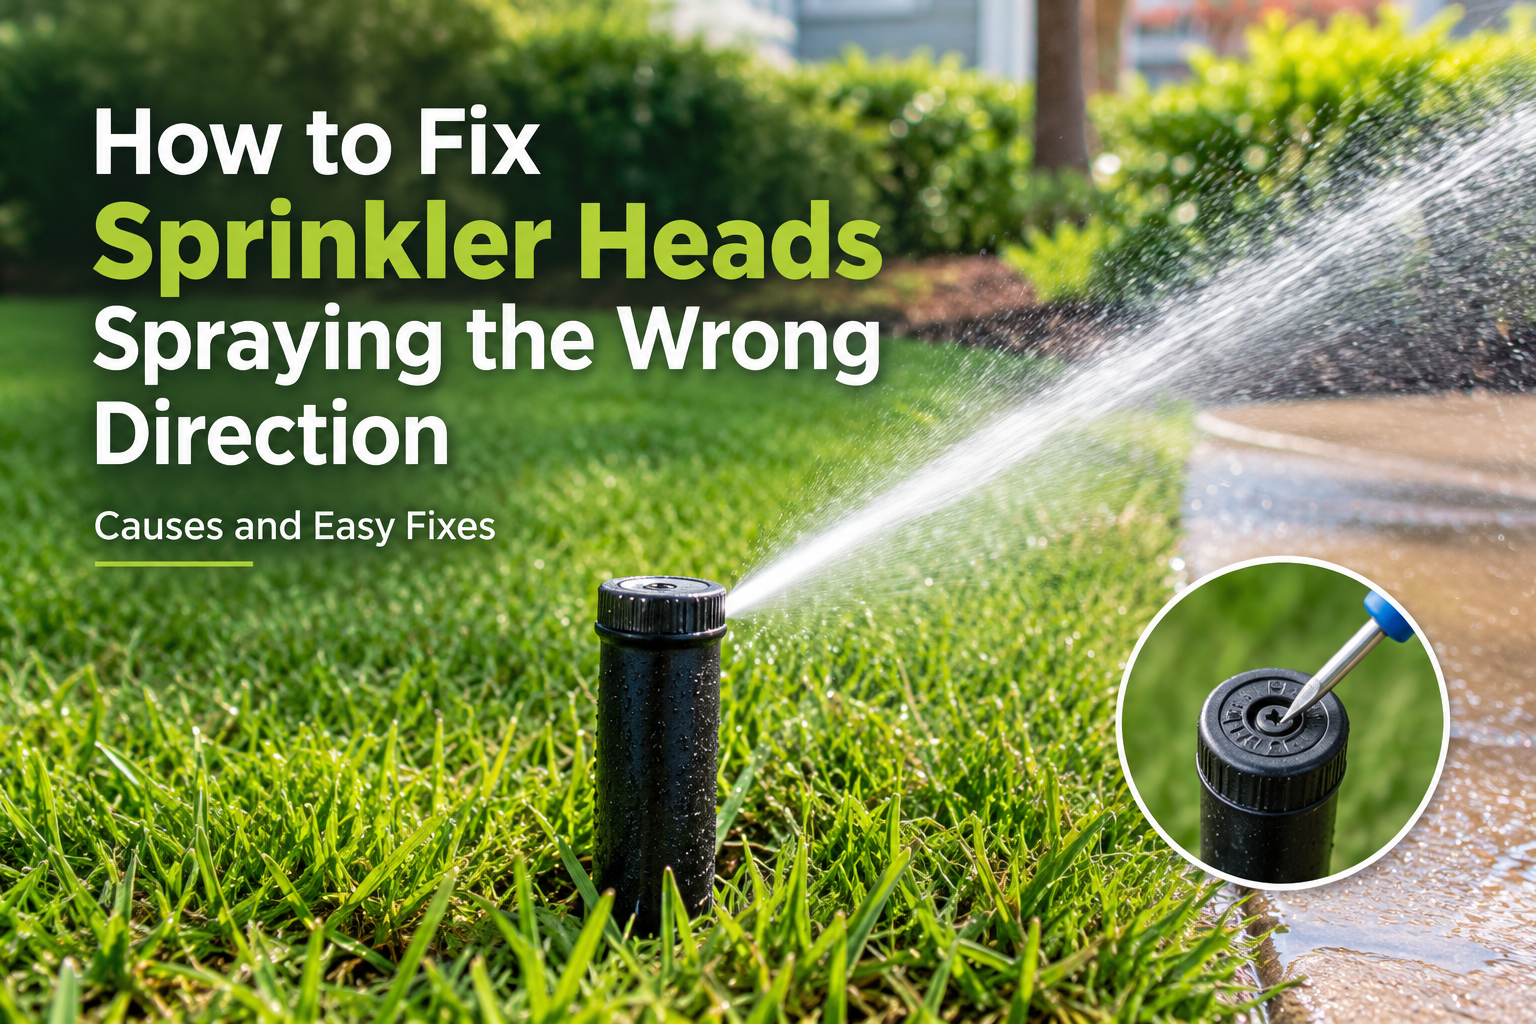


How to Fix a Sprinkler Head Spraying the Wrong Direction
Your sprinklers are soaking the driveway while the lawn turns brown. Annoying, and more common than you’d think. If you’d rather hand it off, search for sprinkler repair in St. Augustine and book a local pro. If you’d rather grab a screwdriver this weekend, you can fix most of it yourself in under an hour.
Most people catch the problem the same way: a wet sidewalk, a damp garage door, or a dry brown patch in an otherwise green yard. It looks minor, but it isn’t. The EPA’s WaterSense program estimates that one broken or misaligned head can waste around 25,000 gallons over a six-month irrigation season. That’s money down the storm drain, and none of it reaches your grass. You need a flathead screwdriver, a small shovel, and maybe a pair of pliers. Nothing more.
Why Is My Sprinkler Head Spraying the Wrong Direction?
Before you start turning screws, it helps to know what you’re dealing with. A sprinkler head spraying the wrong direction almost always traces back to one of four causes.
Incorrect Spray Settings
Many heads are adjustable, which means the arc and direction can be changed. They can also drift. A mower bump, a kid’s soccer ball, or a previous owner’s setup can leave a head pointing somewhere it was never meant to.
A Tilted or Sunken Sprinkler Body
Foot traffic, mowers, and shifting soil gradually push heads out of vertical. A head that leans even slightly throws water at the wrong angle. This is the classic misaligned sprinkler head.
A Clogged Sprinkler Nozzle
Dirt, grass clippings, and tiny pebbles can lodge in the nozzle opening. A clogged sprinkler nozzle breaks up the stream, so you get weak, lopsided, or sideways spray.
Physical Obstructions
Overgrown grass, ornamental plants, and mulch piles can block or deflect the spray. I’ve seen a decorative stone knock a whole zone out of balance.
Quick takeaway: If the spray is aimed wrong, check the settings. If the spray looks weak or uneven, check the nozzle. If the head leans, check the soil around it.
How Do I Identify My Sprinkler Head Type?
Step 1: Shut Off the System
First, turn your irrigation controller to “Off.” It’s usually in the garage or a utility closet. This keeps the system from kicking on while your hands are in the dirt.
Next, clear away grass, dirt, and mulch around the problem head so you can see it clearly. Then figure out which type you have, because it decides which fix to use.
- Adjustable heads: These include pop-up spray heads and rotors, the most common types in residential yards. If you see a small adjustment screw on top, it’s adjustable.
- Fixed heads: These spray a set pattern, such as a full, half, or quarter circle, and have no adjustment screw. If one of these is spraying wrong, it’s almost always tilted, blocked, or clogged rather than set incorrectly.
Step 2: How to Adjust Sprinkler Heads
This is the fix to try first if you have an adjustable head. You’ll need a flathead screwdriver or a sprinkler adjustment tool.
Adjusting Direction and Arc
- Hold the riser steady. Grip the pop-up portion with one hand while you work. Letting it twist freely can damage the fitting below the surface.
- Set the starting point. Gently turn the head by hand so the nozzle points where you want the spray to begin. On many rotor heads, you can twist the turret all the way in one direction until it stops, then back to your desired edge. This sets one side of the watering zone.
- Adjust the arc. Some heads have a separate arc slot or collar. Turning it widens or narrows the sweep. Aim for the spray to stop right at the edge of your lawn, not at the sidewalk.
- Adjust the distance. The screw on top of the head usually controls how far the water travels. Turn it slightly to shorten the throw so you aren’t soaking pavement.
- Test it. Turn the zone on manually for about 30 seconds and watch where the water lands. Make small changes and retest. A quarter turn can make a visible difference.
This is the heart of sprinkler spray pattern adjustment: small, patient tweaks, then a quick test run. Rushing it is the most common mistake I see.
For example: Say your front-yard rotor is hitting the driveway on the right side. Hold the riser, adjust the right-hand stop inward, then reduce the distance screw a touch. Run the zone for 30 seconds. If the driveway stays dry and the grass edge is still getting water, you’re done.
Step 3: Clean or Replace a Clogged Nozzle
If you’ve adjusted the head and the spray is still weak, patchy, or shooting off at odd angles, the nozzle is the next suspect.
- Raise the head. With the water off, pull the riser up out of its housing. Most pop-up heads will stay up if you pull and twist slightly.
- Unscrew the nozzle. Hold the riser steady and turn the nozzle counterclockwise. Hand pressure is usually enough. If it’s stuck, use adjustable pliers very gently, since the plastic cracks easily.
- Clean it out. Rinse the nozzle under running water. Use a paperclip or thin wire to push out debris from the opening. Also check the small filter screen under the nozzle on many spray heads, because that’s where much of the grit collects.
- Inspect for damage. Look for cracks, warping, or a worn opening. Plastic gets brittle over the years.
- Replace if needed. Take the old nozzle to a hardware or irrigation supply store and match it exactly. The wrong nozzle changes your flow rate and coverage, which can create new dry spots.
- Reassemble and test. Screw it back on hand-tight, push the riser down, and run a short test.
Quick takeaway: A five-minute nozzle cleaning fixes more “mystery” spray problems than any other step on this list.
Step 4: Straighten a Tilted or Obstructed Sprinkler Head
When a head is leaning, or when you have a fixed head that’s off target, you’ll need to reset it in the soil. Grab a small trowel.
If the head is just crooked, you’ll need a shovel and about fifteen minutes. Here’s how to straighten it.
Start by digging a circle around the head, roughly 6 to 8 inches deep, until you can see the sprinkler body and the fitting underneath it. Go slowly near the bottom. The water line runs right there, and a careless shovel can crack it.
Once the body is exposed, wiggle it until it stands dead upright, perpendicular to the ground. Then backfill the hole and press the soil down hard around it. Loose dirt is why the head tilted in the first place. The top should end up flush with the soil surface, low enough that the mower blade won’t clip it.
Before you test anything, clear the spray path. Trim the grass that has crept over the head, cut back any plants that have grown into the arc, and move rocks, mulch, or yard decor that block the water.
Then run the zone for a minute and watch. If the water now covers the lawn evenly, you’re done. If one side still comes up short, the nozzle is probably clogged, so go back and rinse it out.
How to Tell When Repair or Replacement Is the Better Move
Not every head is worth saving. Here’s how I decide:
- Clean it when the spray is weak or streaky, and the nozzle looks intact.
- Straighten it when the head leans, but the body and threads are fine.
- Replace the nozzle when the opening looks worn, cracked, or warped.
- Replace the whole head when the body is cracked, the riser won’t pop up or retract, or a rotor makes grinding noises and sticks.
Sprinkler heads are inexpensive, and a new one often costs less than the water a damaged one wastes in a single month.
When to Call a Professional
You’ve adjusted, cleaned, and straightened, and something still isn’t right. Some problems go beyond a screwdriver and a trowel. It’s time to bring in an irrigation technician if:
- The internal gears of a rotor head are broken.
- You suspect an underground pipe leak, such as soggy ground or a sudden drop in pressure.
- Water pressure seems too high or too low across an entire zone.
- You can’t get the pattern right after working through the steps above.
A professional repair visit typically runs between $75 and $250 depending on the problem, according to Angi. That’s a fair price when the alternative is hours of guessing or digging up a line you can’t locate.
Simple Habits That Prevent Spray Problems
A little maintenance keeps heads from drifting out of alignment in the first place:
- Walk your zones once a month during watering season and watch each one run.
- Trim around heads every time you mow.
- Check after storms and yard work. Heavy rain and aerating can shift heads.
- Water early in the morning to cut evaporation and let you spot overspray before the day gets busy.
Final Thoughts
A sprinkler spraying the wrong way is a nuisance, not a catastrophe. Most of the time you fix it in ten minutes with a screwdriver and no trip to the hardware store.
Start by figuring out what you’ve got. Pop-up spray heads throw a fixed fan of water, while rotors sweep back and forth in an arc. Each one adjusts differently, so don’t touch anything until you know which is which. Then turn the zone on and watch. If the arc is wrong, use the adjustment screw or a small tool to reset the spray pattern. If the stream is weak or lopsided, pull the nozzle and rinse out the grit, because a few grains of dirt can bend a whole fan of water. And if the head is simply crooked, straighten it, or dig out the soil or grass that’s shoving it off-center.
That sequence covers nearly every case. You stop watering the sidewalk, the lawn gets the water it was supposed to get, and your bill drops a little.
The crew at Johnny’s Turf says the real fix is a habit: walk each zone once a month with the system running. You’ll spot a tilted head or clogged nozzle weeks before the lawn shows the damage.


